- Fennel
- Winter squash
- Onions
- Green onions
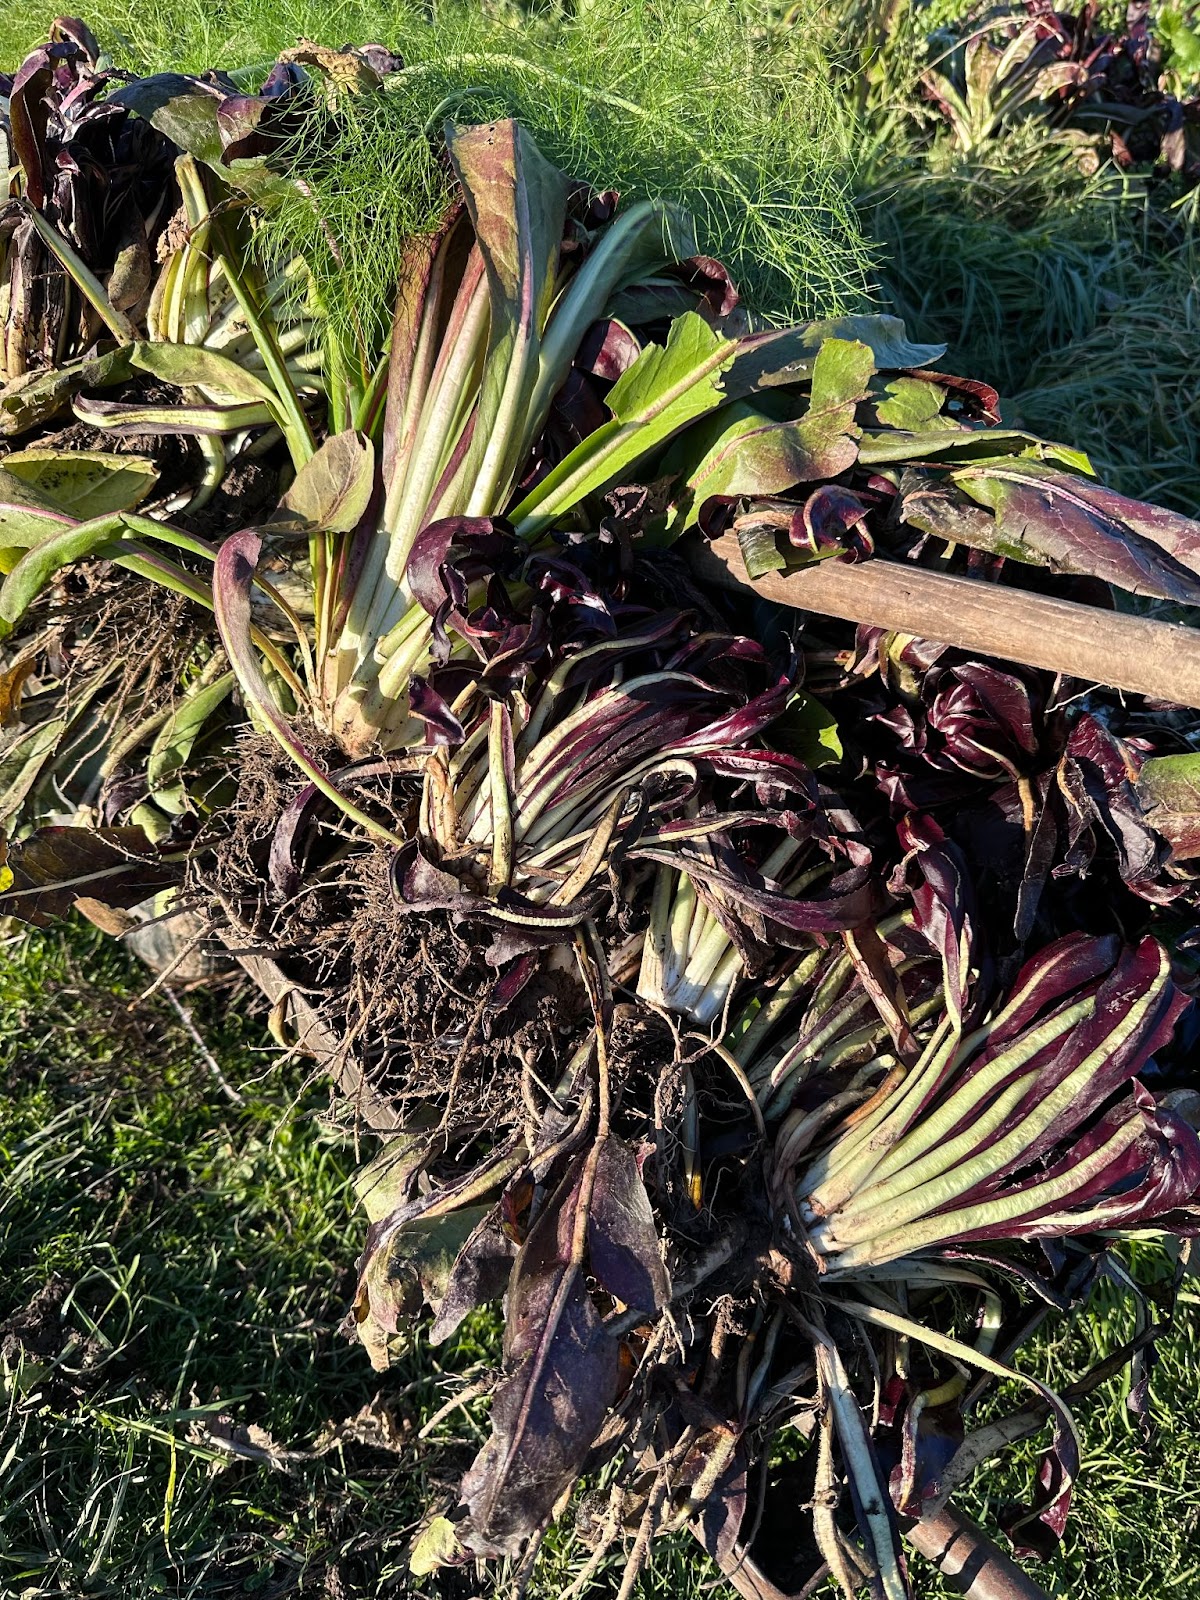
- Chicory mix salad
- Herb bundle
- Turnips
- Celery or celeriac
This is the last December harvest. I have many people inquiring about the dates of the winter harvests. Here are the remaining harvest dates: 1/28, 2/18, 3/10 and 3/24. I mentioned last week that I would consider a harvest on 1/7 depending on weather and availability of veggies. I will scope it out the weekend prior and send an email. If you are missing your veggies you will respond to the email and simply pay the additional fee for that harvest.
I bet many of you are wondering about Brussels sprouts. I surveyed the two beds with sprouts and was dismayed yet hopeful. They are alive, some with fairly good sized sprouts. Not enough for everyone. I decided to top all the plants, sending energy into the stock and away from the leaves in hopes of having 40-60 good stocks for the harvest(s) in January. I also spent a good chunk of time trying to produce this special radicchio called “Sile Tardivo”. It required harvest in November and then resting in water in the dark for 4 weeks. Each week we had to change the water and last Sunday I stripped off all the rotting leaves. I personally love it, but then again I love bitter greens. It looks small and fairly insignificant for the amount of work. I am thinking I will add it into the mix of Chicory salad. I am leaning towards not growing it en masse next year. I would love your feedback in order to guide my efforts.
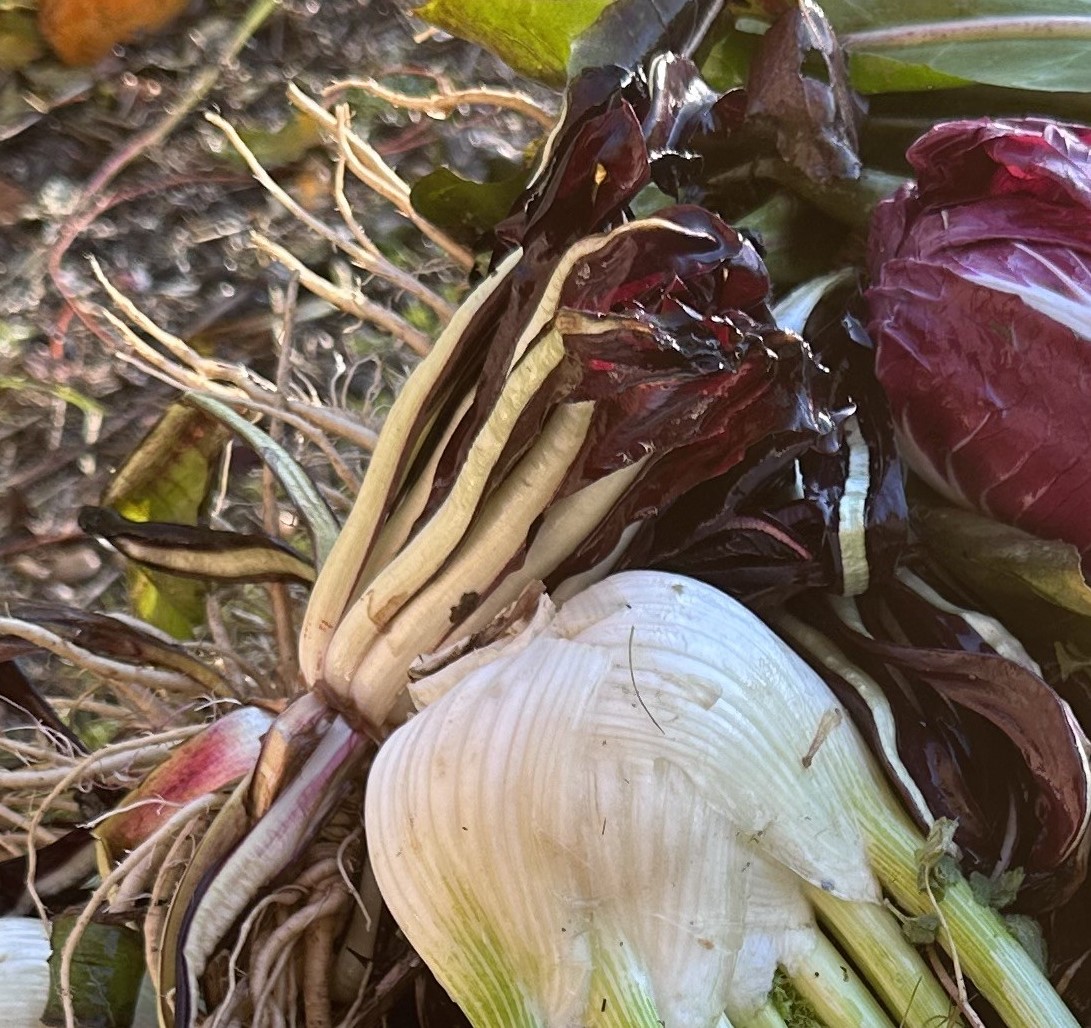
Just pulled from the ground rinsed and cleaned first time
I will head out to harvest soon, as the ground begins to thaw. Wishing everyone a holiday season full of family and friends. I know my mind is focused on the many flashpoints in this world. An immediate ceasefire and halting of the Israeli/USA warm machine is on the top. For now I think about giving to local organizations that are making a difference to our community. I use the Give!Guide to help sort out who to support- here is the link: Give!Guide (giveguide.org) , Internationally I support Doctors Without Borders at: Help save lives in Gaza, Afghanistan, Sudan, and in 70+ countries | Doctors Without Borders
If you are wondering what to do with all those winter veggies, here are some recipes to enjoy:
Turnip recipes:
3 Easy and Delicious Turnip Recipes | Paleo Scaleo
Butter Bathed Tokyo Turnipsfrom Chef Jonathan Miller
1 bunch tokyo turnips
olive oil
2-3 T butter
leaves from 4 branches thyme
Halve the turnips, reserving any greens for another use. Heat a large, cast iron skillet until very hot. Add a couple tablespoons olive oil and sear the turnips, cut side down, until darkly colored. Flip the turnips, sprinkle them with salt, and continue to sear the rounded sides for another couple minutes, or until deeply colored.
Add a quarter cup of water to the pan and immediately cover the skillet with a lid or sheet pan. Lower the heat and allow the turnips to steam for a few minutes, or until they are as tender as you like them.
Remove the lid. If the water has not boiled off, allow it to do so now, then add the butter and bathe the turnips in the butter as it melts, a minute or two more. Sprinkle the thyme leaves over the top, taste for salt and serve warm. Delicious.
For Golden and Purple Topped Turnips from Chef Jonathan Miller
My two favorite ways to have them are roasted on their own, or served with a roasted chicken or in Pot au Feu. Probably the easiest for home cooks is the roast, which means peeling and quartering the turnips, tossing in olive oil and salt, and aggressively roasting them (425-450 degrees) until colored and sweet, about 20-25 minutes.
If roasting them with a chicken, simply roast them alongside a chicken in a large, cast iron skillet. Stir every once in a while so the turnips get covered in chicken fat (I’d actually roast the chicken with turnips, carrots, red onions, and potatoes and/or fennel). Finish with a pan sauce made from the chicken fonds in the pan (pour off fat, deglaze with some vermouth and a minced shallot, mount with butter and parsley) while the chicken rests. Don’t forget to salt your vegetables lightly before going into the roasting pan.
Roasted Turnips in Wine
adapted from Peggy’s Biodynamic Garden
1 bunch turnips, peeled and cubed, greens reserved for another use
1 cup red wine
1/4 cup honey
2 Tablespoons butter
Place turnips in saucepan; add remaining ingredients and enough water to barely cover. (You may also add other root vegetables: carrots, parsnips, etc.) Simmer until tender. Pour into baking dish and bake at 350 degrees 1/2 hour. Serve with rice or chicken. 2-3 servings.
Turnip Tips
adapted from “From Asparagus to Zucchini”
*Eat turnips raw. Slice or thickly julienne and add to vegetable platter or eat alone with or without dip.
*Grate raw into salads.
*Bake turnips alone for 30-45 minutes at 350 degrees, basted with oil, or bake along with other seasonal roots.
*Cook turnips with roasting meats.
*Mash or scallop turnips, just like you would potatoes.
* Dice turnips into soups or stews, and julienne into stir fries.
Turnip Kimchee from Chef Jonathan Miller
I know what you’re thinking: do I need a separate fridge for this dish? Perhaps. But kimchee is healthful and delicious, if a bit smelly. Worth the occasional foray into the stinky for a change of pace on turnips. You might also try this with watermelon radishes. I bet it would be great! Don’t forget that this takes time to ferment – at least 5 days – and will be good for half a year. If your turnips come with their greens, consider using those instead of the watercress. Or use some beet greens from your box instead.
2 lb turnips, peeled and cut into cubes no larger than 1 inch
1/2 small head cabbage (savoy from your box is great, although napa cabbage is more authentic)
1 T salt
1 c watercress or turnip greens or beet greens, chopped
4 T sugar
2 T chile powder (in Korean markets red chili powder is widely available)
1 T salted shrimp, chopped (or use a preserved shrimp product from your local Asian market)
1 1/2 t white vinegar
4 cloves garlic, chopped
4 scallions, cut into 1/2 inch pieces
1/2 inch ginger, peeled and grated
Put the turnips, cabbage, and salt into a bowl an toss well. Allow to sit for 15 minutes.
Combine the remaining ingredients in another large bowl and combine them well. Add the turnips and cabbage and all the juices remaining in their bowl, and toss well.
Transfer the kimchee to a glass jar (2 quart size works), and press down on all the ingredients. Cover tightly with plastic wrap (you can double wrap it if you like), and let sit at room temperature for 4 days.
Uncover the jar to release any CO2, stir the kimchee again, screw on a cap and put into the fridge. Shake the jar from time to time over the course of the next 5 days while it continues to ferment. Ready to eat after 5 days, and good for 6 months. Serve chilled or at room temperature.
Celery and fennel salad
Fennel-Celery Salad with Blue Cheese and Walnuts Recipe | Epicurious
Celeriac in Brodo
by Jim Dixon of Real Good Food
Inspired by a dish prepared for the Sagra di Radicchio by Chef Emily Crawford from The Corson Building in Seattle, this simple preparation highlights the flavor of this ugly (to some) but delicious root vegetable. I’ve substituted a simple vegetable broth for the brodo di Parmigiano she used, but if you’ve got a leftover rind from a piece of Parmigiano Reggiano, you can add it to the broth for even more flavor.
For the dish:
- 2-3 cups brodo
- 1 celeriac bulb
- 2 Tbsp. extra virgin olive oil
Optional toppings:
- sauteed mushrooms
- fried egg
- herbs, oils, and garlic
Brodo:
- 1 onion
- 1-2 carrots
- 1-2 stalks celery
- 2-3 cloves garlic
- 1 bay leaf
- salt
- optional: thyme, parsley
Directions: Coarsely chop an onion, carrot, a stalk or two of celery, and a few cloves of garlic. Add them to a couple of quarts of water along with a good pinch of sea salt. A bay leaf and sprigs of parsley or thyme are also good, but not absolutely necessary. Bring to a gentle boil and simmer for at least 45 minutes. Strain out the solids.
Wash, trim off the hairy roots and peel a celeriac bulb. While it’s possible to grate it with a box grater, a food processor makes it much easier. You’ll need to cut the celeriac into small pieces to fit into the feed tube. A typical three-pound celeriac will give you several cups grated.
In a medium pan, heat a couple of tablespoons of extra virgin olive oil and cook the grated celeriac for a few minutes. Add a couple of cups of the vegetable brodo, reduce the heat, and cook gently, uncovered, until most of the broth has been absorbed. Taste and add salt if needed.
This is delicious by itself as a vegetable side dish, but it also combines nicely with other flavors. Top with sautéed mushrooms, a fried egg, or a simple salsa verde of finely chopped parsley and garlic with olive oil and a splash of vinegar.
Chicory salad with radish :
Winter Squash Soup recipe
Butternut Squash Soup Recipe – Love and Lemons

Delicata ‘Eggs in a Basket’
by Tim Wastell
A twist on a classic that replaces the bread with a ring of sliced delicata squash. Quick, simple, easy and a surefire winner for breakfast, lunch, or dinner.
Ingredients:
- 1 delicata squash
- 6 hen eggs
- 2 Tbsp. butter
- A few sprigs sturdy herbs such as thyme, sage or rosemary
- Salt and black pepper
Directions:
Preheat the oven to 400 degrees.
Cut off the stem and blossom end of the delicata and carefully cut the squash into six evenly sized rings. Using a small spoon, carefully scrape out the seeds of each ring and discard. Heat the butter in a cast iron pan (large enough to hold the six squash rings with a little room to spare) over medium heat until it becomes foamy and starts to smell slightly nutty. Add the squash rings, season lightly with salt and cook until the pan side is golden brown. Carefully flip each ring over, and cook for one more minute. Gently crack an egg into the center of each ring, add the herb sprigs to the pan, and transfer to the oven to cook for two or three more minutes, or until the egg whites are set. Remove from the pan and serve immediately.